Monday, April 15, 2013

Just a few more chainmaille pieces to share


Wanted to post these and let you know that they're currently on sale in my Mother's Day Sale album on Facebook until May 10th.

Viper Scale Bracelets - $24.00
     
Anodized Aluminum and Titanium


Rainbow Barrel Bracelet $18.00

Anodized Aluminum

Captured Ring Choker $45.00
Anodized Aluminum

Caged Black Pearls $15.00
Anodized Aluminum and Swarovski Pearls

Caged Black Pearls $15.00 
Anodized Aluminum and Swarovski Pearls

Helm and Byzantine Choker $50.00
Anodized Aluminum and Czech Glass Beads

Saturday, March 30, 2013

So...I found this pattern ......

Well, it wasn't really a pattern, it was more like a picture with basic instructions - all in Spanish and I don't read or speak Spanish unfortunately.  I really should have paid more attention in school.  I didn't think I would ever need algebra either...ooops.  So, here I am with a seriously retro/Boho tank top that I want to make and only a picture to work from.  Here is what I did.  

Using a sport weight cotton and a G hook, I made 4 plain old granny squares.  They are 7 rounds each (8.5" wide - 10" on the diagonal.


When they were completed. I sewed them together corner to corner, creating a tube of sorts.


Added straps using SC (9.5" 41 rows of 8 stitches)  I attached the strap on the back side with slip stitches.


I continued a ripple stitched for _____ rows making it _____inches long.  (you can keep going and make a dress or swimsuit cover up if you want!)

Here it is after 4 rows:

 
After 14 rows:


and viola - a Retro/Boho tank top!

I did a round of Picot stitch around the bottom


Monday, March 25, 2013

A few new Chain Maille Pieces

I have a few new pieces up for sale - right now they are only available through my Facebook page, but I hope to have them in my Etsy Shop by the weekend.


Oriental 12 in 1Chain Maille Rainbow cuff bracelet

Caged Beads Chain Maille Bracelet

Caged Pearls Chain Maille Earrings

Helm and Byzantine weave Chain Maille Bracelet

Caged Beads Chain Maille Earrings - pick your color

Oriental 12 in 2 Chain Maille Necklace

Scale Maille Flower pendant on woven cord

Caged Pearls Chain Maille Necklace

Peter Pan Collar Chain Maille Necklace in Oriental 12 in 1

Linked Byzantine Wave Chain Maille Bracelet

Caged Beads Chain Maille Bracelet

Caged Beads Chain Maille Necklace

Caged Beads Chain Maille Bracelet

Elfin Style Caged Pearl Earrings

Friday, March 1, 2013

Sock Drama - continues!

So, it's official, I'm addicted to making socks.  I'm still working on getting a better toe, so here is the plan - I'm going to try working from the center out.  These socks are for a friend for Christmas - so you won't be seeing this until after she does...but you can follow along on the journey as it goes.

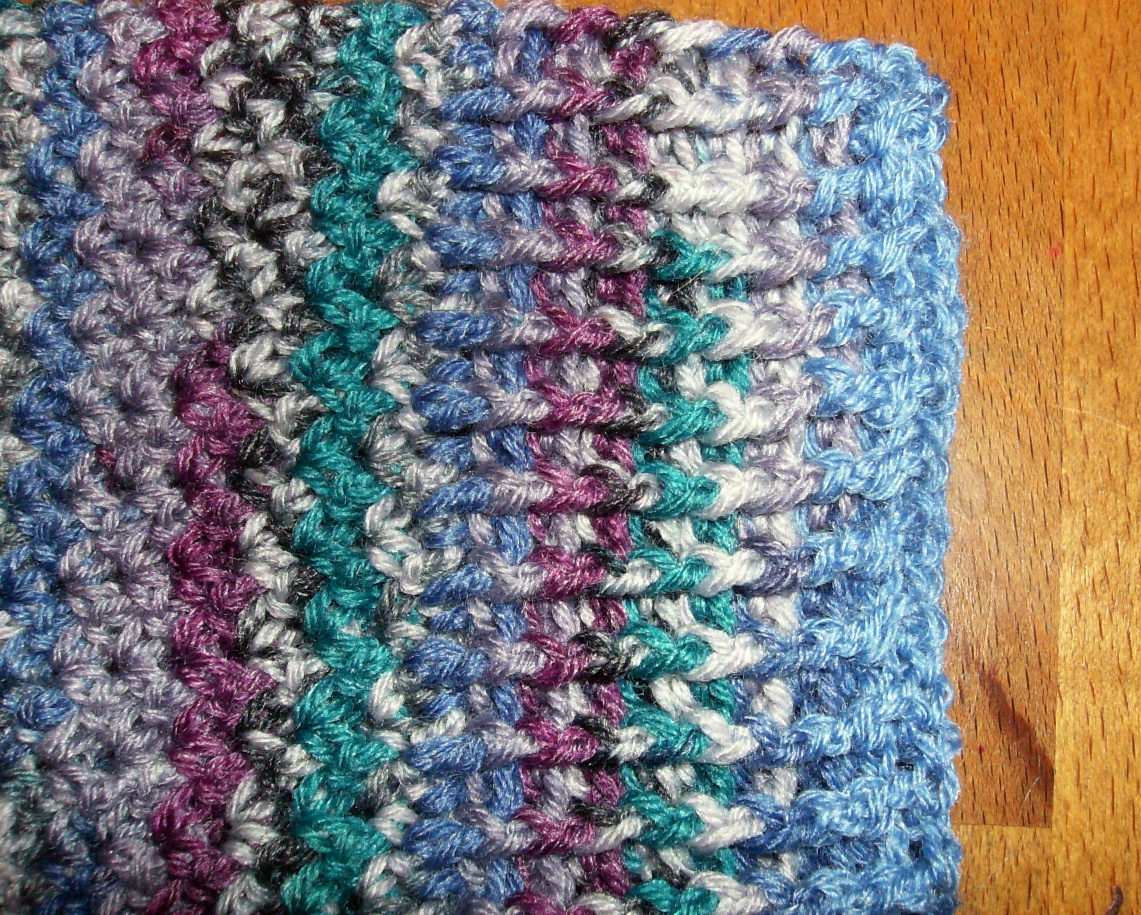
So, her foot is somewhere abound a size 10 - 11.  Since I can't very well ask her to measure her feet for me, I'm using the chart from My Jewel Thief Knitting Blog.  I'm going for a size 11.  The chart says the heel to toe measurement should be 8 3/4" and the toe should be 2". This will make the foot from toe to heel turn 10 3/4"  I make my medium socks 45 stitches around and decided that adding 5 stitches should do the job.  I chained 50 and carefully joined it, then I began doing rounds of 50 Extended single crochets.  Here it is after 10 rows.  The sock is worked inside out - so this is the wrong side.  When I get the right length, I'll take another pic of the right side.


I'm using a Susan Bates D hook with Deborah Norville Serenity Sock Weight yarn in Teal Tease. The Heel, Toe and ribbed top will be done in Deborah Norville Serenity Sock Weight yarn in sky blue. 

Here is the completed foot (the maroon thread running through is just a marker for the beginning of the rounds).  There are a total of 41 rounds including the chain and first round - moving on to the toe and heel now.  The toe will be a series of decreases and the heel will be done with the short row technique.  I'll try to remember to get pics of the process.  It's really quite simple once you get the hang of it.   I'll be starting with 27 stitches and each row, you leave the last stitch unworked.  When I get down to 16 stitches, I'll reverse the process and increase back up to the 27 original stitches while working down to the previous row to pick up the unworked stitch with a SC and a slip stitch for reinforcement.  

I've started the toe with 1 SC in each stitch.  I put a marker in at the 25th stitch and the 50th stitch.  Every other row I'm doing a decrease before and after the marker for a total of 4 decreases in every even row.

After the 11th row, I'll slip stitched the opening together, tie off and weave in the threads. 

Now, onto the heel.  I'll be doing the short row technique.  I'm going to start with 27 SC in this sock and continue working back and forth reducing each row by not working the last stitch in each row until I get down to 17 stitches.
First Few Rows


Decreases done (15 stitches left)
Starting increases and working in the unworked stitch from the row below


The heel will start to curl up

Halfway through the heel turn
Heel turn completed
From here, I do 1 row of HDC to rejoin the heel to the foot of the sock and close the gap by stitching 3 together in the gap and start the petite shell stitch.  (sc,ch3,sc into same stitch skip a stitch and repeat and join).  After the initial 'set up' round of petite shell, it's a sc, ch3, sc into each ch3.

after 1 round of HDC, Petite shell 'set up round and 1 round of petite shell

 
18 rounds of petite shell completed


After the 18th round of petite shell, I did 1 round of DC followed by 6 rounds of FP/BP ribbing


 Completed sock (though I might do 2 more rows of ribbing using the contrasting color to pull the whole thing together.


 Yeah - I decided to do the last 2 rows of ribbing and I'm glad I did!


Saturday, January 5, 2013

This mess sat in my scrap pile for almost 2 years. I had gotten it in a swap 100% merino hand painted - darn expensive stuff. It came in one of those double twisted balls. I started taking it apart without the first clue what I was doing and created this mess...I cried and threw it in the pile - until Friday - It was mocking me and and my destashing New Years resolution, so I sucked it up and tore into it - 7 hours later, I had a ball of frankensteined yarn

2 days later - I have my favorite socks so far.  It was all worth it!  All is right with the world.

Saturday, December 29, 2012

My first foray into sock land

Well, the time came, I ran out of excuses and this yarn had been teasing me long enough.  I took a deep breath, shut myself up in a closet with a pattern, my computer (for youtube tutorials), a D hook, my yarn - which I'll get into later and a pair of scissors.  It was time to suck it up and try a pair of socks.

The yarn - 2 years ago, I was gifted with a 370 yard hank of hand painted, 100% merino wool called Lollipop Guild by Sunshine Yarns.  She has some amazing stuff in all colors and weights.  The yarn I was gifted is superfine fingering weight, the kind used for socks.  I loved it - touched it just about every day and dreamed of the day I would have a pair of socks made from this skein of dreamyness.  Yesterday, I decided it was time.  These socks were not going to make themselves.  I can crochet (I can even knit if I have to) but the yarn couldn't do it by itself...so....

The fear - HEELS!  They look impossible and patterns for them read like a foreign language to me.  Quite frankly, they scare me to death.  So I searched the internet, I searched You Tube and finally found a video that deciphered the cryptography that is sock heels.  Who knew that the heels would be the least of my troubles.

The Toe - I first picked up an old skein of baby yarn from my stash and tried out a practice sock...the heel was pretty straight forward, but I really didn't like the toe.  It was sort of triangular and looked weird.  So I had the brilliant idea that I would try to figure out a better way to do it - 4 hours later, I picked up the good stuff and went back to the original plan.  I crocheted and frogged about 100 times before finally giving up and going with the tried and true.  It was also pointed out that once it's on, it shapes to your foot and doesn't look triangular and funky.

The Foot - this was without a doubt the easiest part...25 rounds of 45 extended single crochets


Back to the Heel - First you decrease...


Then you increase and join to the row below - it's called 'turning the heel'


The Cuff -  I couldn't figure out how it was going to end up not having a divot where the sole and heel join, but as I worked the cuff - it just sort of went away.  If anyone can explain the physics behind that, I would love to hear it.

The hard part here was figuring out the math - damn my math teacher who swore I would actually need that crap in real life!  I wanted to do a cable pattern ending in a rib at the top and had to figure out how to spread it evenly over the stitches I had to work with.  Graphs, Charts and a calculator later, I think it ended up pretty close.


so...the finished product still looked a bit angular, and maybe a bit odd sized...


But, once it was on my foot, it was the sock I had always dreamed of.


Now...do you think I can duplicate it or will my other foot just be cold forever?